DIY making of personalized rope bracelets
I accidentally found a few small red beads at home, and I don’t know what to use them for.
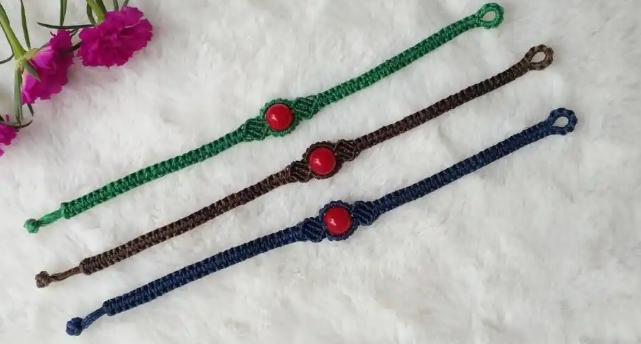
So I made a bracelet. This time we will weave bracelets. Mainly to highlight the beads.
The bracelet I made this time is a simple style that can be easily picked up by beginners.
This bead wrapped bracelet. The flat knot, sparrow head knot, and button knot used. Slanted knot.
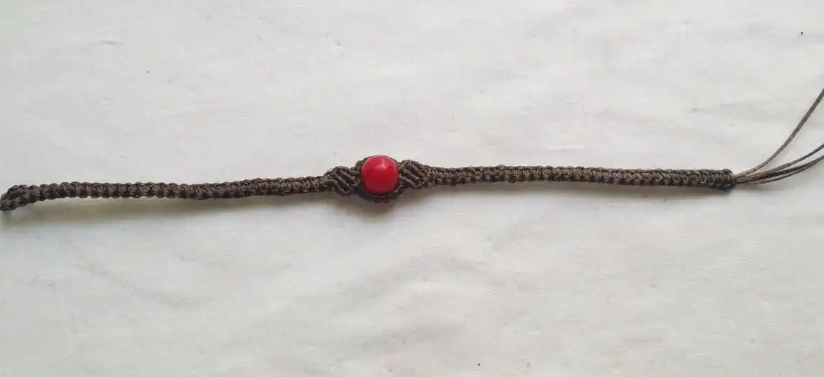
Each color has its own beauty. Today we will take the brown version as an example. As shown in the picture:
preparation
Tools used: ruler, lighter, scissors, pin, foam board
Required materials: 0.8mm flat wax wire Brown wire: 90cm × 2 200cm × 1 Red beads: 7mm × 1
Chain length: 13.8cm (excluding buttonhole and button position)
started making! ! !
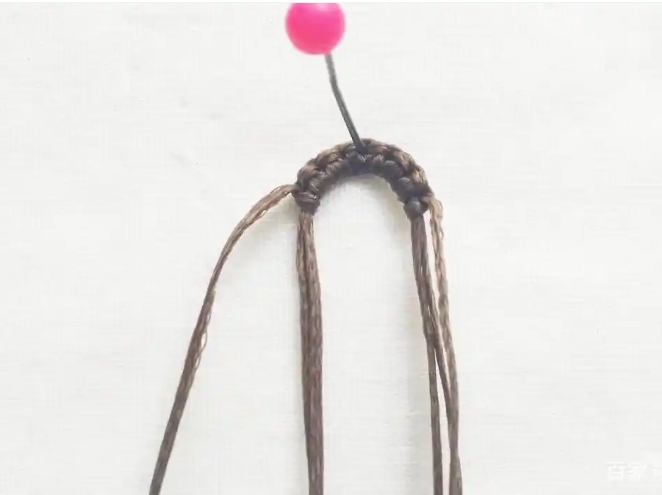
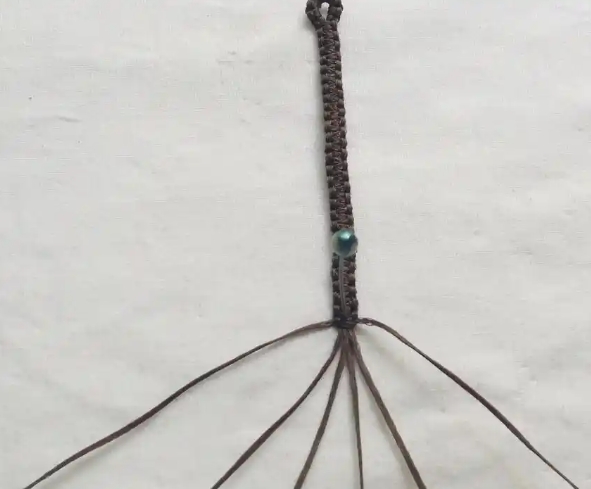
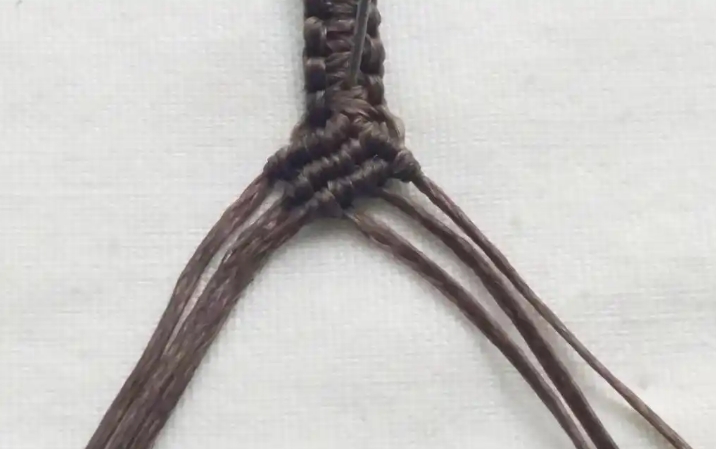
1. Use a 200cm × 1 wire for winding. 90cm x 2 axis. Wrap the wire in the middle of the axis, with 7 bird head knots. The thread must be tightened. Then fold it in half. As shown in the picture:
2. Use the outermost lines on the left and right sides as the winding line, and use the four lines in the middle as the axis line to weave a flat knot. Encode to the appropriate length.
The length I have weaved here is 5.8cm, and everyone can decide the length based on their own hand circumference. As shown in the picture:
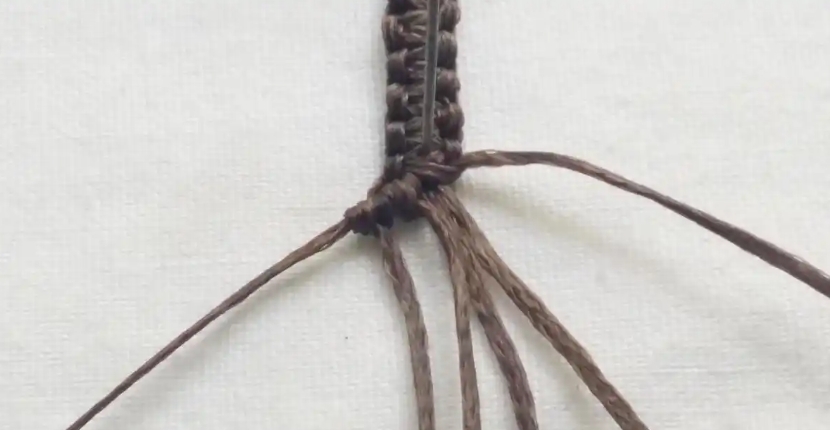
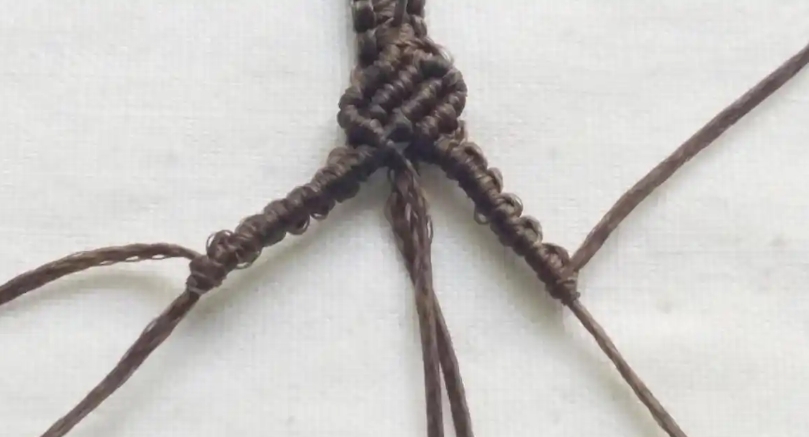
3. There are currently 6 lines, looking to the left. The third line on the left is the axis. The first and second lines on the left are winding lines.
Weave a diagonal knot on the right in sequence. As shown in the picture:
detail
4. Look to the right, the third line on the right is the axis. The first and second lines on the right are winding lines. Weave a left diagonal knot in sequence. As shown in the picture:
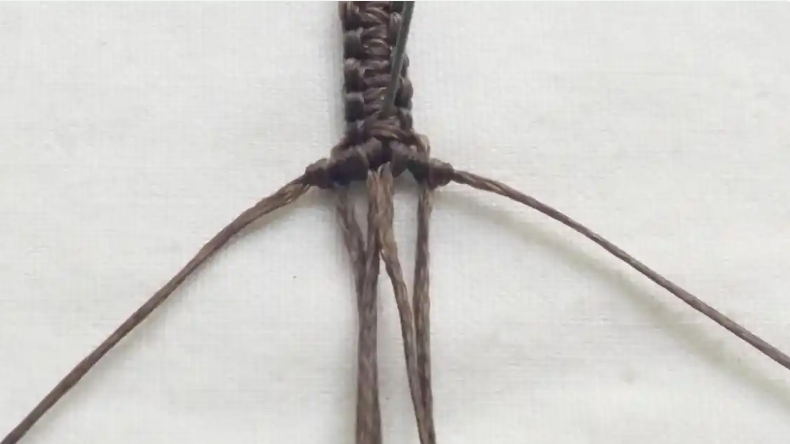
5. The third line on the right is used as the axis, and the fourth and fifth lines are used as winding lines, which are then arranged in a right diagonal knot. As shown in the picture:
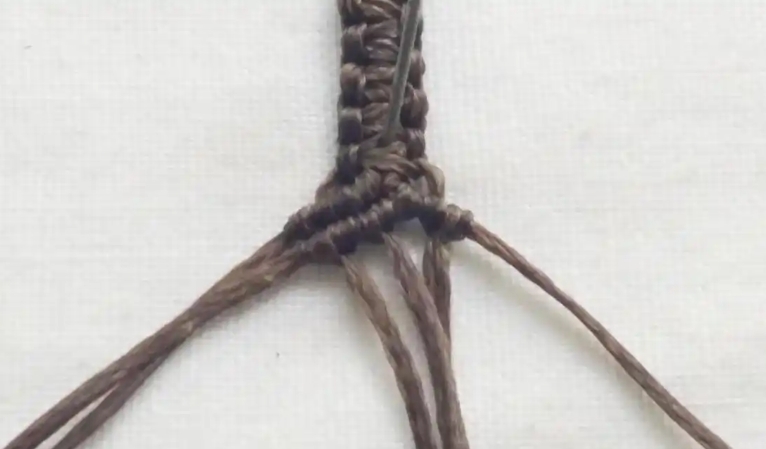
6. The second line on the right is used as the axis, and the third and fourth lines are used as winding lines, which are then arranged in a right diagonal knot. As shown in the picture:
7. The first line on the right is used as the axis, and the second and third lines are used as winding lines, which are then arranged in a right diagonal knot. As shown in the picture:
8.We look to the left. The first line on the left is used as the axis, and the second and third lines are used as winding lines, which are then arranged in a left diagonal knot. As shown in the picture:

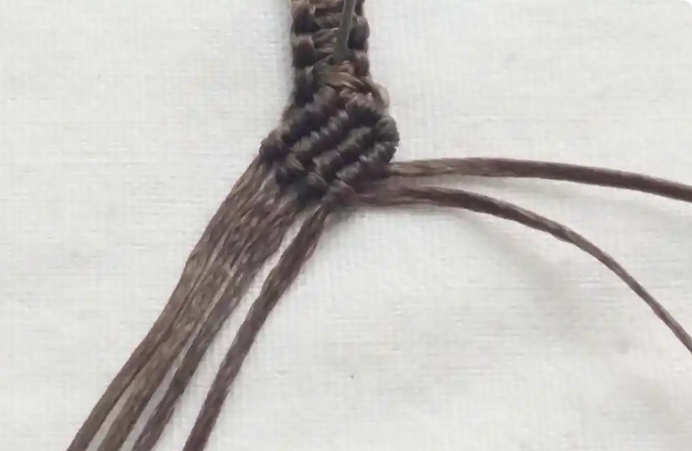
9. The first line on the left is used for winding, the second line is used for axis, and 6 sparrow head knots are woven.
The first line on the right is used for winding, and the second line is used for the axis, also forming 6 sparrow head knots. As shown in the picture:
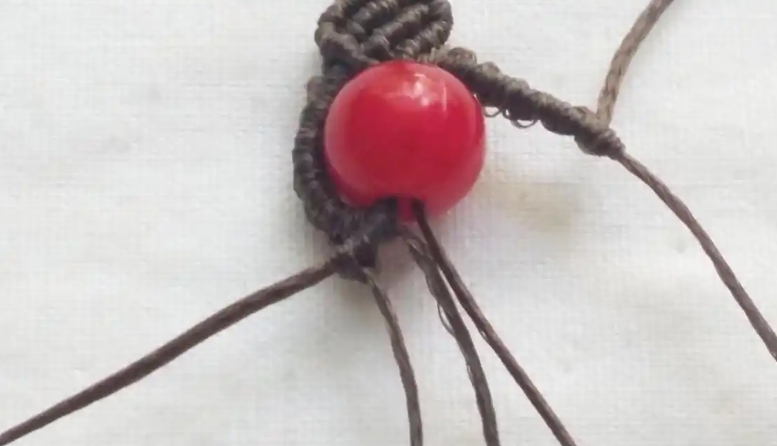
String beads!
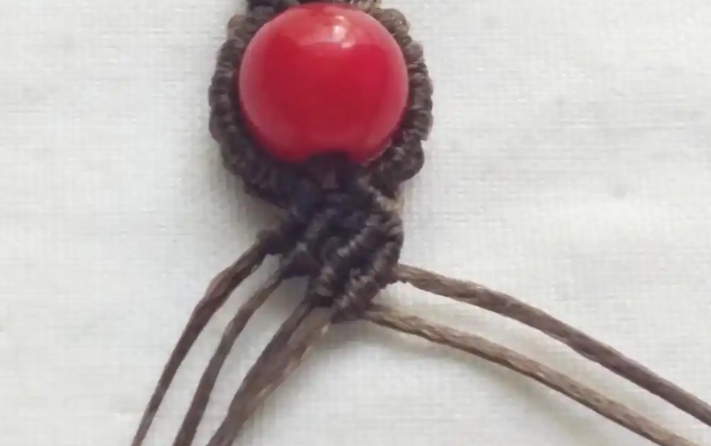
10. Thread red beads along the two axis lines in the middle. As shown in the picture:
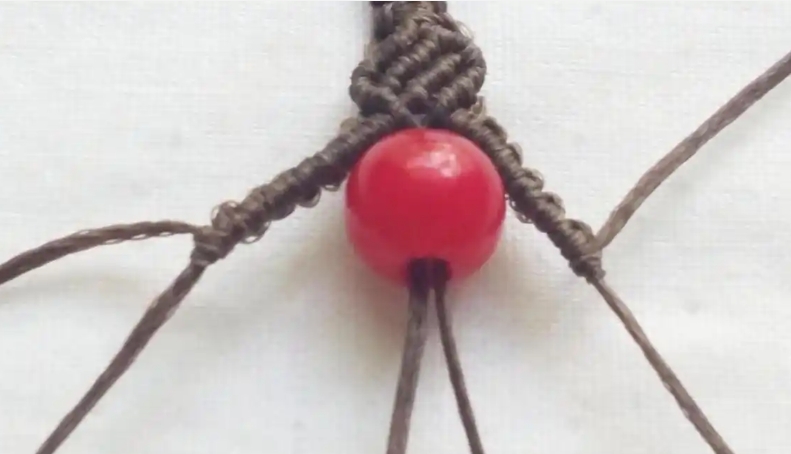
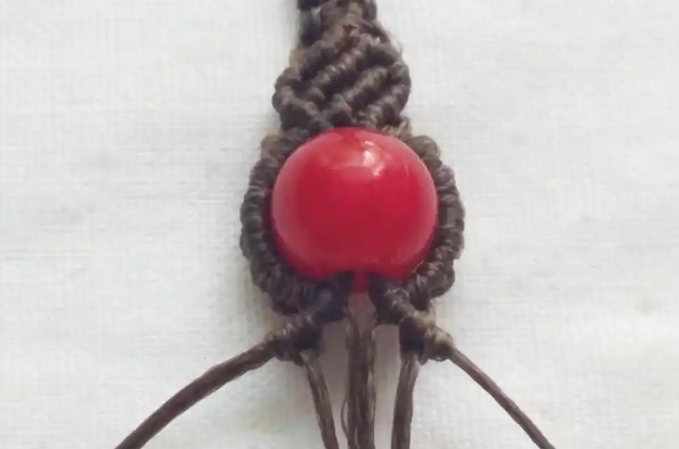
11. The third line on the left is used as the axis line, and the first and second lines are used as winding lines, which are then arranged in a right diagonal knot. As shown in the picture:
12. The third line on the right is the axis. The first and second lines on the right are winding lines. Weave a left diagonal knot in sequence. As shown in the picture:
13. Continue looking to the right. The third line on the right is used as the axis, and the fourth and fifth lines are used as winding lines, which are then arranged in a right diagonal knot. As shown in the picture:
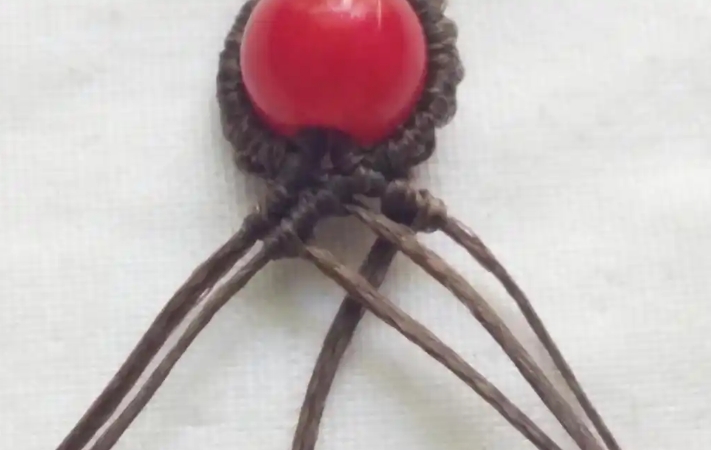
14. Still look to the right. The second line on the right is used as the axis, and the third and fourth lines are used as winding lines, which are then arranged in a right diagonal knot. As shown in the picture:
15. Still on the right. The first line on the right is used as the axis, and the second and third lines are used as winding lines, which are then arranged in a right diagonal knot. As shown in the picture:
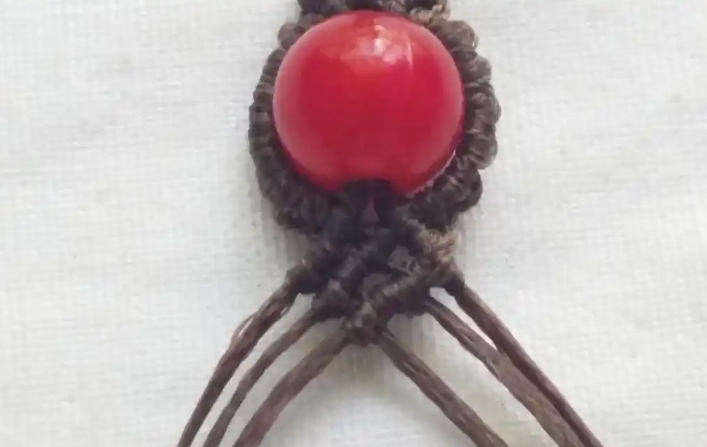
16. Look to the left. The first line on the left is used as the axis, and the second and third lines are used as winding lines, which are then arranged in a left diagonal knot. As shown in the picture:
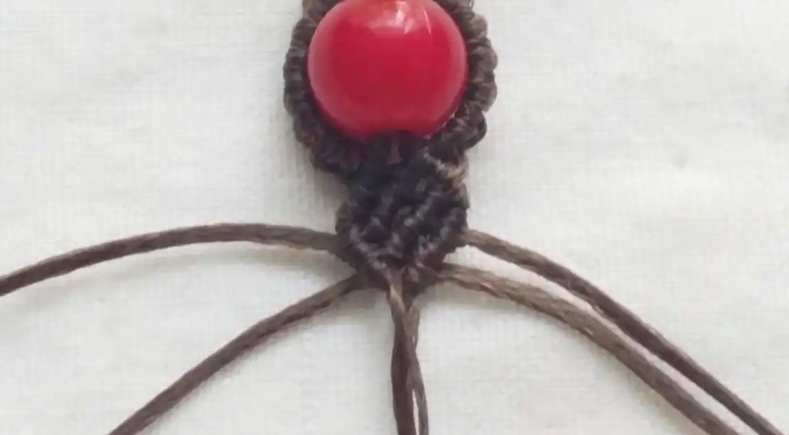
17. Wrap the first line on the left and the first line on the right. The four lines in the middle are the axis lines.
The length of the knot is the same as the previous end. At the end, tighten the winding tightly.
Leave the four axis lines in the middle, cut off the winding ends, and burn and stick them together. As shown in the picture:
finishing make
18. The middle 4 lines, 2 lines in a group, weave a button knot. You can also use other beads instead of button knots by yourself.
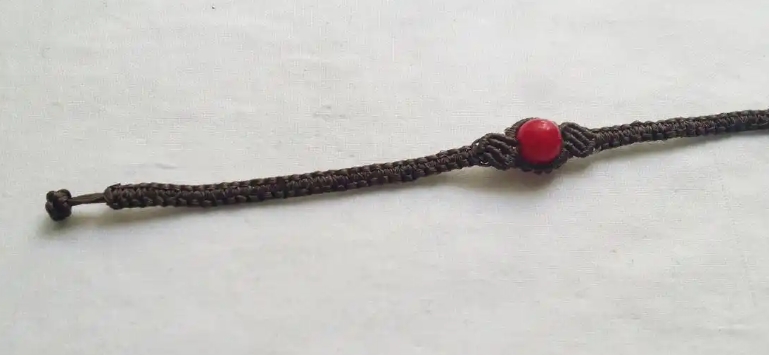
The entire making process has been completed. The chain body is quite simple. The final button knot is a bit complicated. When practicing button knots, you can use thicker lines to practice.
There is no other shortcut to doing handicrafts. Just be more patient and practice more!
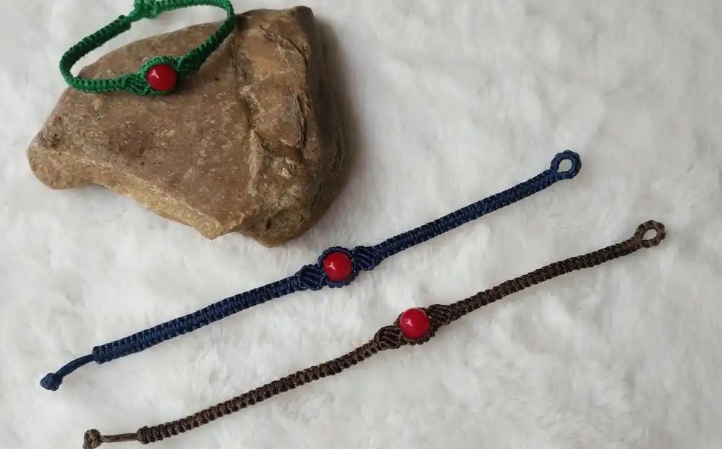
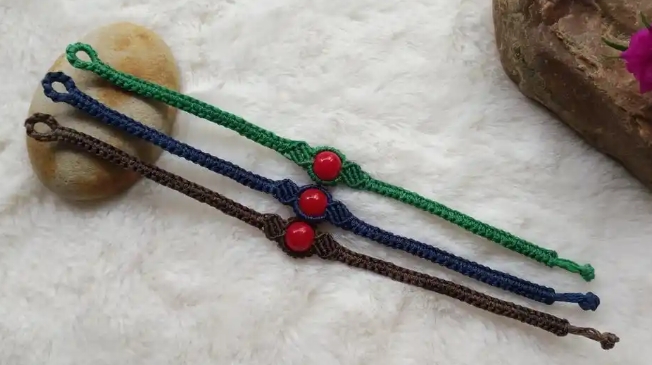
Appreciation of finished products